
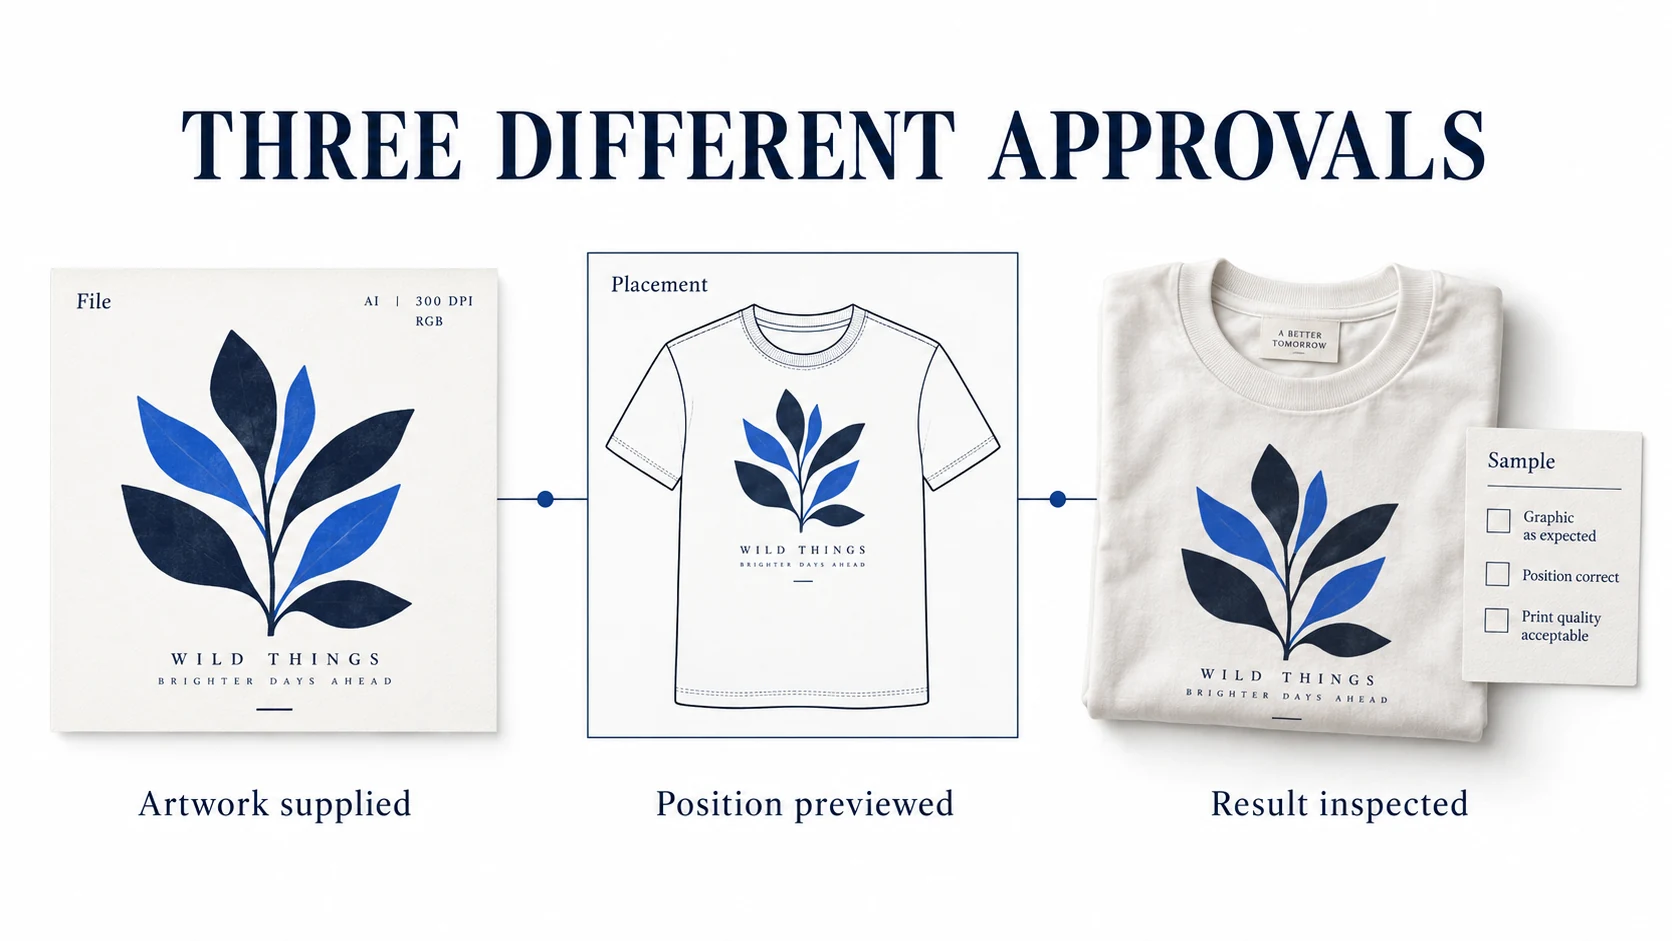
Prepare a print-on-demand file for the exact provider, product and print area, using that product’s current template. Check the artwork at its intended physical size, then approve a sample against a saved file version and production specification. A successful upload confirms that a system accepted a file; it does not prove the finished product will match your expectations.
There are several decisions to keep separate. The file controls the artwork supplied. The product configuration controls where and how it is applied. A mockup previews placement. A physical sample lets you inspect an actual result. Combining these into one vague “approved” status leaves room for the wrong file or garment to reach production.
01
Choose the product template before exporting
Begin with the product, print provider, decoration method and placement. A shirt front, sleeve, mug wrap and cut-and-sew garment do not share one canvas. Even within a product, different sizes or print areas may have different limits.
Download or inspect the current template and requirements for that selection. Record its dimensions, permitted file types, intended print area and any safe or bleed zones. Keep the template reference with your export so a later editor knows which product it was prepared for.
For example, Printify says requirements can vary by product, print area and sometimes item size in its design-dimensions guidance. Threadless publishes its own Artist Shops primary-file specifications, including a recommended 4200 × 4800-pixel transparent PNG and additional product templates. Neither is a universal canvas for every POD service.
Keep an editable master separate from each production export. A master can retain layers and original vector artwork. The export should contain only the content and settings required for the selected placement. Give it a versioned name that identifies the intended product or job; “final-final.png” is difficult to reconcile with an order several weeks later.
This preparation sits within the broader POD dropshipping workflow, but it needs its own approval record because small changes can alter the printed result.
02
Calculate resolution at the printed size
For raster artwork, divide the pixel width by the intended printed width in inches. The result is the effective pixels per inch available at that size. POD interfaces often call this DPI, although a printer’s dots of ink and an image’s pixels are different things.
| Raster file width | Intended print width | Effective image resolution |
|---|---|---|
| 3600 pixels | 12 inches | 300 pixels per inch |
| 3600 pixels | 18 inches | 200 pixels per inch |
| 900 pixels | 12 inches | 75 pixels per inch |
The 3600-pixel file has not changed between the first two rows. Its pixels are spread over a larger area. Likewise, changing the 900-pixel file’s metadata to “300 DPI” does not create the missing detail needed for a sharp 12-inch print.
Check both dimensions, especially when cropping or changing aspect ratio. A file can meet the required width while falling short vertically. Also inspect small lettering and fine lines at actual output size: enough pixels do not rescue illegible original artwork.
Is 300 DPI always required?
No. Printify’s file requirements generally recommend 300 DPI for JPEG and PNG, while identifying 120–150 DPI requirements for certain large products. Printful’s file-preparation guide gives a product-dependent 150–300 DPI range. Use the exact product requirement instead of averaging the two.
If the file is insufficient, reduce its physical print size, obtain a higher-resolution original or redraw suitable artwork as vectors. Upscaling can be useful, but inspect its output carefully. Added pixels can contain invented texture, misshapen letters or softened edges. Acceptance by a quality-warning system is not a substitute for checking the design itself.
03
Choose a format that preserves the artwork
PNG is useful when the design needs a transparent background. JPEG is suitable for many photographic or full-background images, but it does not preserve transparency. Saving a logo as JPEG can turn the intended empty background into a visible rectangle when printed.
An SVG can scale cleanly when its content consists of genuine vector paths. Placing a small raster photograph inside an SVG does not make the photograph infinitely detailed. Check what is inside the file rather than relying on its extension.
Accepted formats are provider-specific. Printify lists JPEG, PNG and SVG, with its stated file-size limits. Printful’s preparation guide favors PNG or JPEG for predictable output and discusses precautions for PDFs. A format accepted by one platform should not be assumed acceptable on another or for every decoration method.
Before export, hide template guides and unwanted background layers. Check for missing fonts, hidden objects and artwork outside the intended canvas. Where a vector workflow requires outlined text or flattened effects, retain an editable original before making the production copy.
Open that exported file independently. A correct working document does not guarantee the export contains the same appearance. Inspect edges on both light and dark backgrounds so stray pixels, white halos and unintended transparency are easier to see.
04
Treat color and printable edges as separate checks
For Printful uploads, its stated recommendation is the sRGB IEC61966-2.1 color profile. Do not automatically convert all POD files to CMYK because a commercial paper printer once requested it. The receiving provider’s workflow determines the appropriate input.
A luminous screen and ink on fabric cannot display color in the same way. Bright colors, the garment base and the printing treatment can change the appearance. If a particular shade is commercially important, discuss the provider’s available matching process and inspect a physical result. A hexadecimal code in a design file does not guarantee an exact fabric color match.
Safe zones and bleed solve another problem. A safe zone helps protect important content from edges or production variation. Bleed extends appropriate background artwork beyond a trim or cut boundary. Use the product template: do not add a universal bleed amount to every shirt, mug and poster.
For an all-over garment, examine how the artwork relates to seams and cut panels. A logo close to a seam needs a different review from a repeating background pattern. For a front print on a finished tee, the issue is the allowed placement area and variation, not a paper-trimming rule.
Embroidery requires a separate preparation process. A printable raster image is not automatically a stitch-ready design. Use the provider’s embroidery requirements and digitization process, with a sample where the details matter. Very small text, fine lines and smooth gradients should not be assumed to translate unchanged from ink to thread.
05
Use the mockup for placement
Preview every location and the material colors you will sell. Check which part of the file the alignment controls use. A large transparent margin on one side can make the file mathematically centered while the visible graphic appears off-center.
Also review the size variants. Printify states that apparel designs are scaled down for smaller garment sizes, without scaling up beyond L. That can be relevant to the relative print size a customer sees. Check the actual product settings rather than assuming a single preview represents the whole range.
Mockups are useful for checking whether artwork is on the correct side, oriented correctly and positioned as intended. They are limited evidence for color, print texture, fabric opacity, adhesion or wash behavior. A photorealistic preview is still a preview.
If you send a mockup to a customer for approval, say what the decision covers—for example, spelling, design choice and placement. Retain the approved view with the order. Do not describe a digital proof as a physical production sample.
06
Order the sample through the intended route
Use the final file and the exact product configuration you plan to sell. Record the provider, blank or product model, color, size, print method, placement and order reference. If an automatic routing feature selects another provider, establish what was actually produced before treating the sample as approval of the original selection.
A plain blank tests the item but not your print. Similarly, an unrelated design on the same shirt cannot answer whether your fine lettering or large solid area reproduces satisfactorily.
Printify’s sample-order guidance states that samples are paid at regular pricing, with plan discounts where applicable rather than an additional sample discount. It also directs personalized products through the sales channel for testing. That route tests the customer’s input and order transfer as well as the production file.
Track production and delivery separately. On receipt, inspect the product in ordinary light and compare it with the stored specification. Check the wording, visible dimensions, placement, print edges and any obvious product defect. For apparel, a recorded check following the care instructions can reveal changes after washing. Describe it accurately as your sample observation, not a formal durability test.
07
Record what passed and what changed
An approval should identify the particular item and artwork it covers. A short record is more useful than a long checklist containing no file or order reference.
The following is a fictional example of the information to retain. The measurements illustrate the record; they are not a universal provider specification.
| Approval field | Example record |
|---|---|
| Product | Named cotton tee style, black, size M, selected provider |
| Artwork | studio-leaf-front-v03.png, with the saved export and file hash |
| Decoration | Agreed DTG front placement |
| Intended artwork size | 10 inches wide; agreed vertical reference recorded separately |
| Sample | Order SAMPLE-104, received date and photographs saved |
| Inspection | Spelling, measured placement, edges and fabric feel recorded |
| Care check | Actual wash and drying conditions plus observations saved |
| Decision | Approved for the recorded configuration; no approval of other blanks or providers |
Record unresolved issues explicitly. “Looks good, but make the logo smaller” is a request for a revision. The smaller version needs a new record, and a new sample if that change raises a material question about the result. Preserve the previously approved export so it is clear which version was replaced.
The sample inspection guide covers broader product checks. For POD, add the exact artwork version and placement because the same physical blank can support many different production outcomes.
08
Diagnose failures before uploading another file
Start by comparing the delivered item, the submitted file and the production configuration. Re-exporting at a larger size will not fix every problem.
| Observed issue | First things to compare | Useful next action |
|---|---|---|
| Blurred lettering | Original letter detail, effective resolution, print size and method | Supply close photographs and the actual file; establish whether the defect exists in the artwork |
| Graphic shifted sideways | Visible artwork bounds, transparent canvas margins and placement settings | Measure from the agreed references rather than comparing angled photos |
| Unexpected background rectangle | Export transparency and chosen format | Inspect the exported image on a contrasting background |
| Different color or opacity | Product color, material, file profile and actual production method | Compare the tested configuration; avoid correcting the file until the cause is understood |
| Missing or peeling fine details | Line thickness, decoration limits and care history | Ask the provider to assess the method and supplied evidence |
Keep the original order and evidence while investigating. Change one relevant variable where practical, so the next sample answers a clear question. If you change the blank, print method and file together, an improved result will be harder to reproduce deliberately.
09
When should you order another sample?
Reconsider approval when the provider, blank, material, decoration method or print dimensions change materially. A new dark garment color may also need inspection even when the file is unchanged. A spelling correction at the same size may require a new digital approval without raising the same physical questions as a new print process.
Can I fix a low-resolution file by typing 300 DPI?
No. The available pixel dimensions and physical print size determine effective resolution. A metadata change alone adds no image detail.
Is an SVG always better than a PNG?
No. Genuine vector artwork can scale well, but embedded raster content keeps its own resolution limits. Use a format supported by the chosen product and appropriate to the artwork.
Does approving a sample guarantee future orders?
No. It records an acceptable result for a defined configuration. Keep changes controlled, monitor later orders and retain the reference so a departure can be identified.
Can one file be used on every product?
Use the master artwork as a starting point, then prepare product-specific exports or placements. Different proportions, print areas and production methods often need separate decisions.